
In part 1, we learned about what GIMP is, its commonly used windows, and how to draw lines. In this part, we will cover exporting images, and drawing shapes.
Table Of Contents
- How to Export an Image
- How to Draw a Rectangle
- How to Draw a Circle
- How to Crop an Image
- How to Edit a PDF File
- Summary
How to Export an Image
Exporting an image generates the actual image file to the popular image formats you need. To png or jpg for example. To export, press Ctrl + Shift + E on your keyboard. To export using your mouse, click File > Export As….

From the sample image above, the exported image will be named Lines.png. The image format is png based on the file name extension. You can update the file name (e.g. to Lines.jpg or Lines.bmp) and GIMP will automatically save it to the format you specified.
How to Draw a Rectangle
Drawing shapes with GIMP is a matter of getting used to.
To draw a rectangle
- Create a new image by left-clicking File > New….
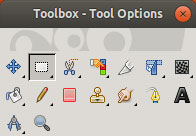
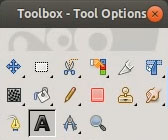
- Enable the Rectangle Select Tool by clicking it on the Toolbox.
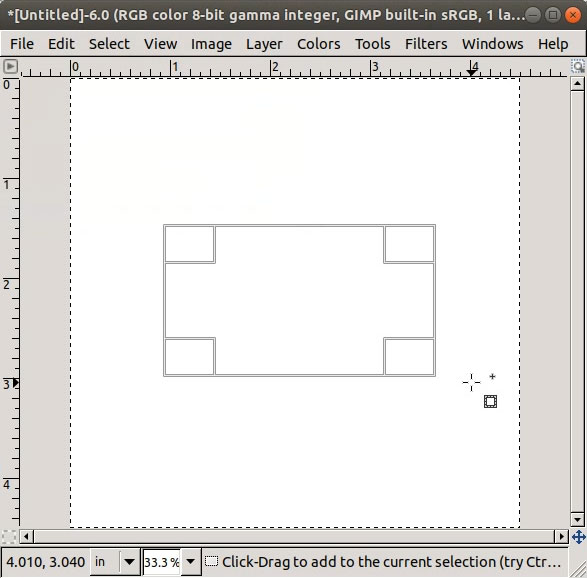
- On the canvas, select the rectangle area by dragging the mouse.
- Click Select > Border….

- On the Border Selection Dialog
- Set 1 or 2 as border width.
- For simplicity, let’s use pixels (px) as a measurement unit.
- Then, click OK.
- Once done with the Border Selection Dialog, click Edit > Fill with FG Color.

How to Draw a Circle
Drawing a circle is a bit similar when drawing a rectangle.
- Create a new image by left-clicking File > New….
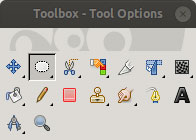
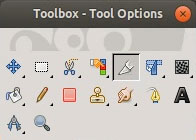
- Enable the Ellipse Select Tool by clicking it on the Toolbox.
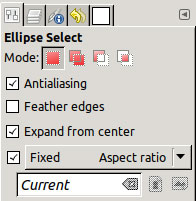
- On the Tool options, make sure that any ellipse we draw is a perfect circle.
- Tick Expand from center.
- Tick Fixed Aspect Ratio. You may need to select Fixed Aspect Ratio first.
- On the canvas, select the circle area by dragging the left mouse key.
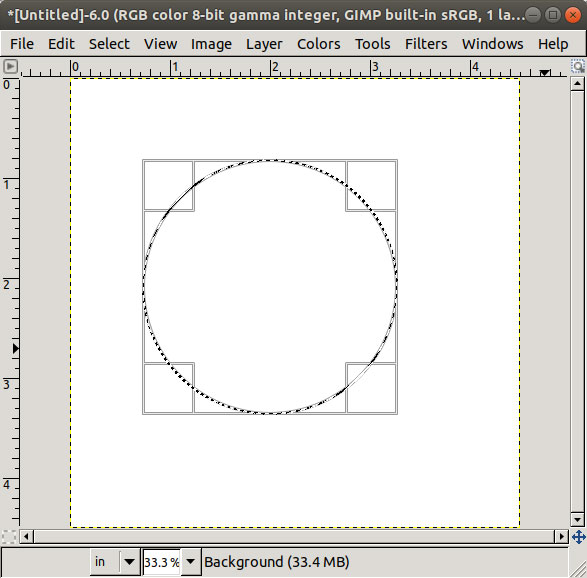
- Click Select > Border….
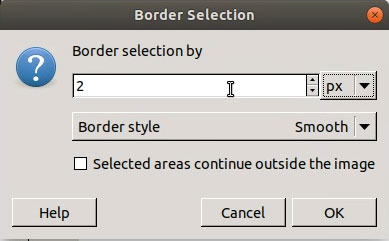
- On the Border Selection Dialog
- Set 1 or 2 as border width.
- For simplicity, let’s use pixels (px) as a measurement unit.
- Then, click OK.
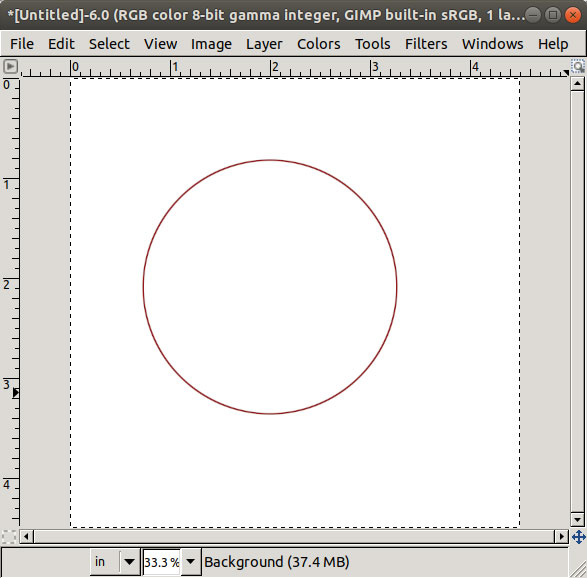
- Once done with the Border Selection Dialog, click Edit > Fill with FG Color.
How to Crop an Image
Cropping lets you clip the image. This is a way to remove unwanted or distracting outer areas.
- Open a picture file with GIMP by clicking File > Open….
- Once the image is loaded on the Image Window, select Crop Tool on the Toolbox.
- Drag the mouse on the canvas to select the image area to be retained a.k.a. crop area.
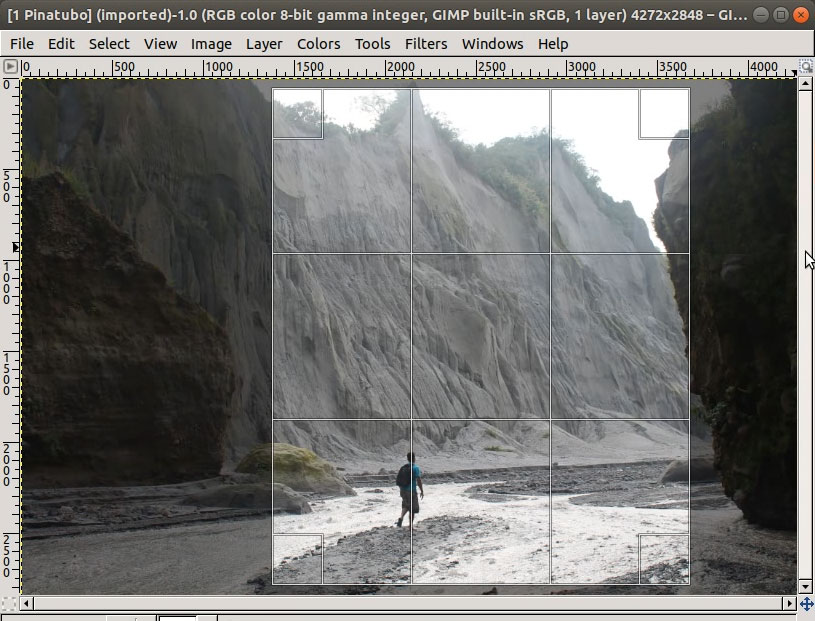
- The Crop area can be moved by dragging its middle area.
- The Crop area can be resized by dragging its edges.
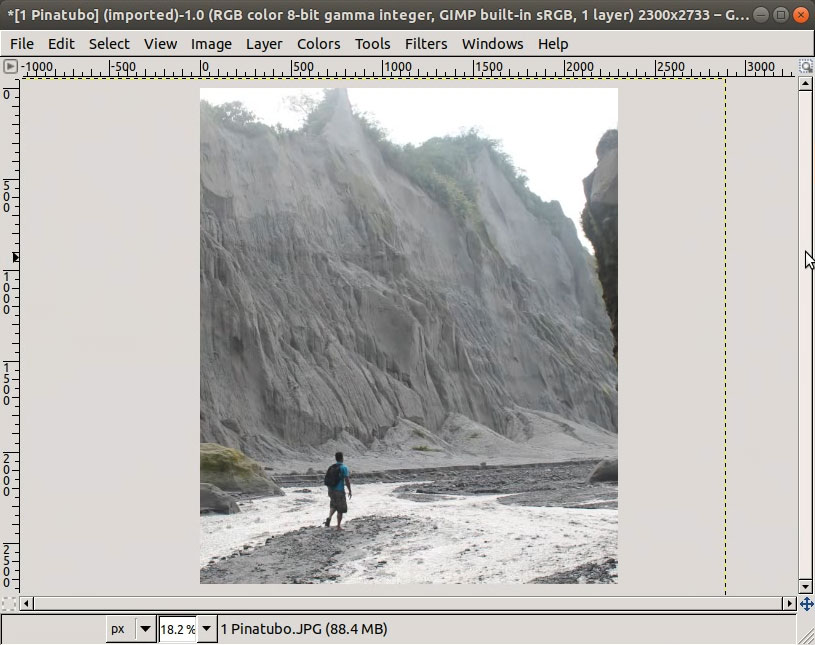
- Press Enter to apply the Cropping.
How to Edit a PDF File
To finalize this post, let’s start filling up a PDF file using the Text Tool.
- Click File > Open….
- Then, select the PDF file for editing.
- On the Import dialog, select the page you want to edit.
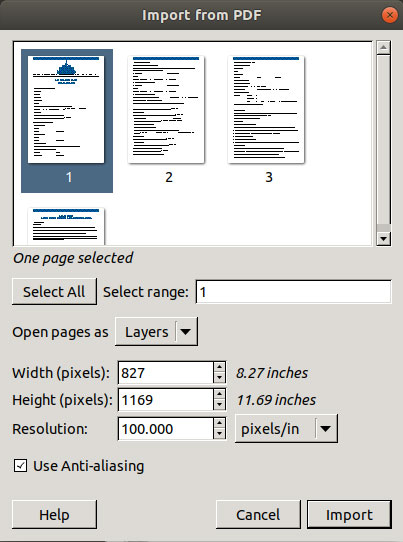
- Set the Zoom to at least 100%.
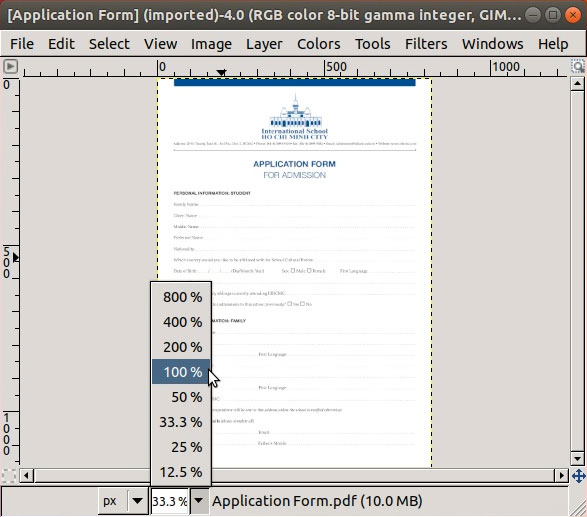
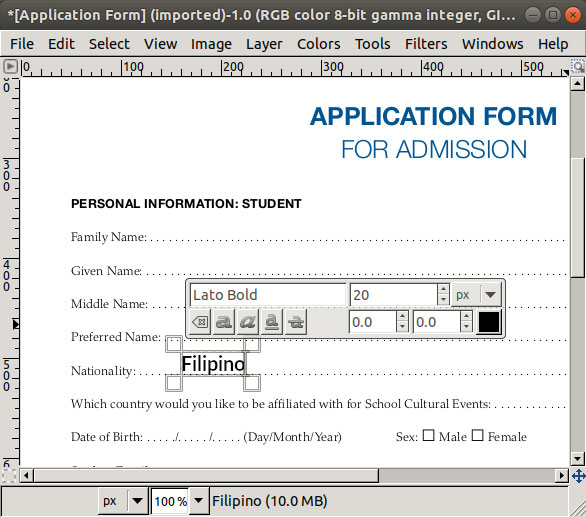
- Enable the Text Tool on the Toolbox by clicking on it.
- Click on the canvas where you want to put the text.
- Then, start typing.
- Adjust the text size as needed. In the image below, the text size is currently at 20 pixels (px).
- Save your changes so you can continue working on it at a later time.
- To export the edited PDF page, click File > Export….
- When typing the file name, it must end with .pdf.
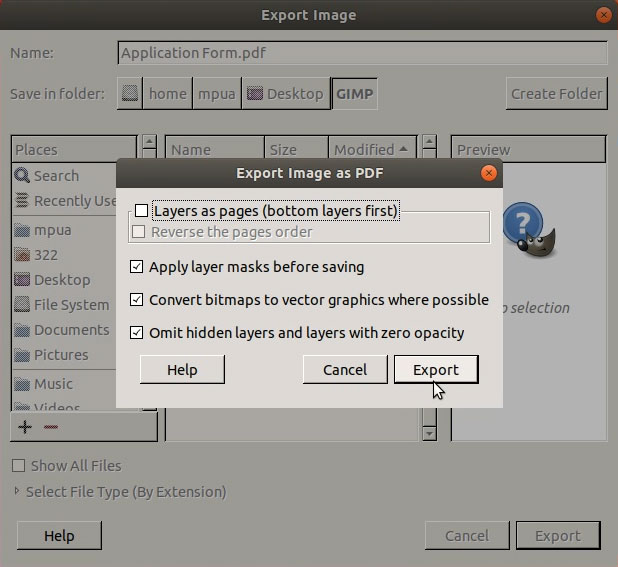
- When typing the file name, it must end with .pdf.
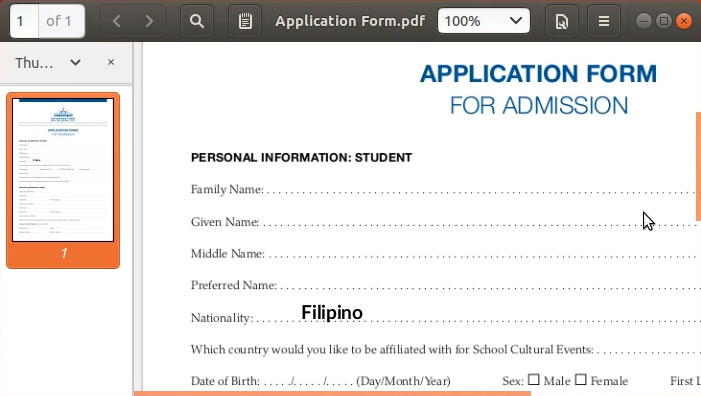
- Finally, locate and open the PDF file you just created with GIMP.
Important notes
- By editing a PDF file, this post means filling up PDF forms by adding text or images on top of the contents. GIMP is not designed to edit the existing texts inside PDF files. Please use dedicated PDF-editing tools should you need to edit existing contents.
- Currently, exporting to PDF via GIMP converts the texts inside the original PDF file into an image. Also, GIMP can open PDF pages but can only export one-page PDF at a time.
Summary
In this two-part blog, we explored the basics of image editing with GIMP such as drawing lines and basic shapes as well as adding texts. Having tried GIMP’s basic functionality, you can now explore more of the basic options and try advanced features like Layers and photo enhancements.
Share


Key Topics

Article
Women Who Code: Transforming the Tech Landscape with Diversity and Skill
Key Takeaways Introduction Over the years, gender inclusivity has constantly been a subject of dispute...

Article
Embracing EQ in UX: A New Era for the Philippines National Skills Framework
Key Insights Introduction The Philippines has long stood as a bastion of warmth and understanding,...
Article
Transforming Tech Talent: Philippines Introduces Game-Changing National Skills Framework for IT Excellence
In today’s rapidly advancing technological world, the gap between academic learning and industry requirements in...